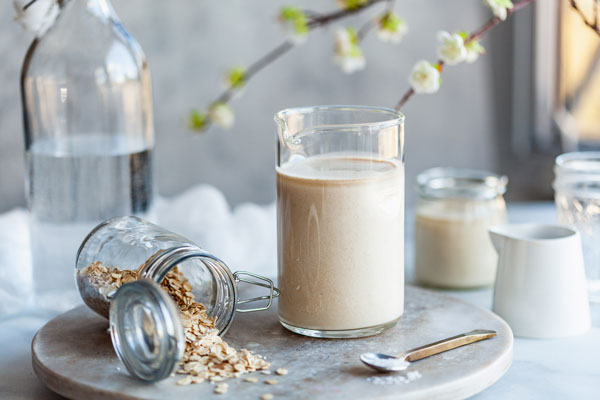
Oat Milk
|
Dairy intolerance is not always about the lactose or sugar content of the milk. In fact most of what I see in clinic, are clients who have problems with the protein component of the milk. Fortunately, during a consultation these symptoms tend to stand out, so a trial of going dairy free is sometimes recommended.
Of the alternative milk options, oat milk is standing out of the pack as a really good option for a lot of people. So, how do you make good oat milk and save yourself money at the same time? Actually it is super simple! 1 cup of rolled oats regular or sprouted (but organic is best)
6 cups of chilled filtered water 1 tsp vanilla extract (optional but recommended) 1 date (optional but recommended) 1 tsp cinnamon (optional) |
Put all of the ingredients into a large blender or food processor. Blend for 30-40 seconds - NO LONGER.
Place some cheesecloth over the top of a large bowl. Strain the contents of the blender through the cheesecloth. Let it drip through and do NOT squeeze the cheesecloth.
Discard the oat pulp in the cheesecloth, or save for use in another recipe.
Transfer the liquid back into the blender, and then restrain again through the cheesecloth (Note: you are not re-blending, just re-straining through the cheesecloth a second time).
Pour the oat milk into a sealable glass container and store in the fridge. You are done!
If you notice some sediment in the bottom of your oat milk, this is normal. Give it a quick shake before pouring to make it nice and creamy again. Your oat milk should last around 5 days if stored properly. If the smell starts to change, it is time to discard it.
Tips
1. Make sure your water is chilled (from the fridge). Anything warmer, and your final product will be slimy.
2. Do not pre-soak the oats. This activates the enzymes and your milk will be slimy. If you want the enzymes activated, use sprouted oats.
3. Do not squeeze the pulp - this also will make your milk slimy.
4. Make sure you double strain to get the smoothest, creamiest texture.
5. Do not over-blend. 30 seconds is enough, 40 seconds max.
6. Keep your oat milk tightly sealed in the fridge.
7. If you need gluten free oats - make sure they are certified
Use your lovely fresh organic oat milk just as you would dairy milk.

